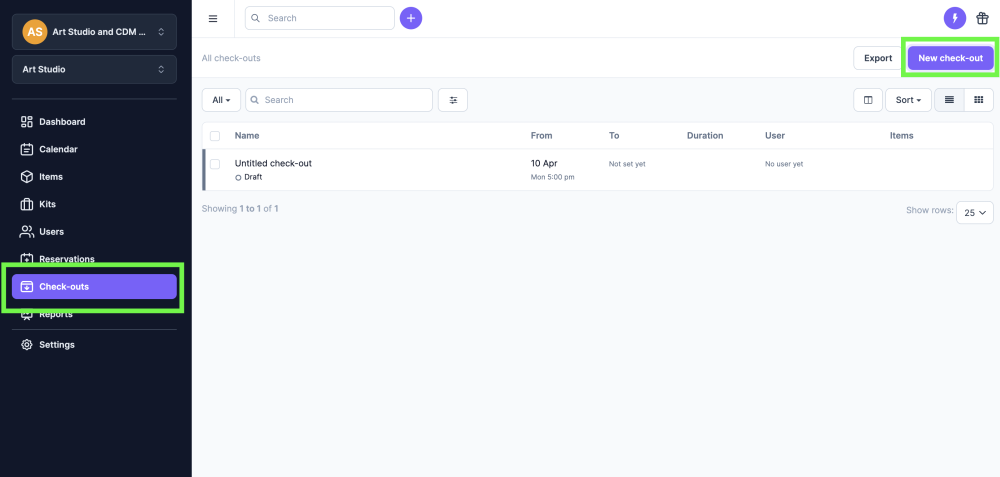
Checkout through the Website
First, go to Check-outs and click 'New Check-out' in the top-right corner:
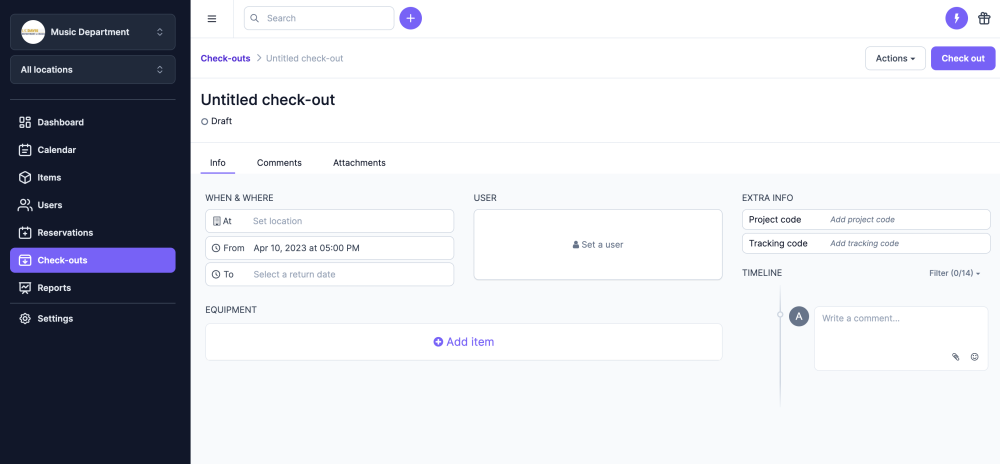
Next you will see the checkout window.
-
(optional) Create a title for your check-out, for example a project name or add your name.
-
Set a location if you have access to multiple locations. The location you choose is where the equipment is currently at. (*when checking the equipment back in at a different location, you can choose ‘check-in at different location’)
-
Choose a date and time when you will be returning the equipment (the 'From' date and time is already filled in, as equipment is leaving from this moment onwards)
-
Add a Contact (either yourself or someone else in the team who will be using the equipment)
-
Add extra info if needed
-
Add items or Kits (you can type in the name of the type or brand, scroll down the list or then scan the label if the item is already next to you)
-
Write a comment (optional)
-
Upload or drop a file (optional)
-
Click ‘Check-out’ when everything is good to go
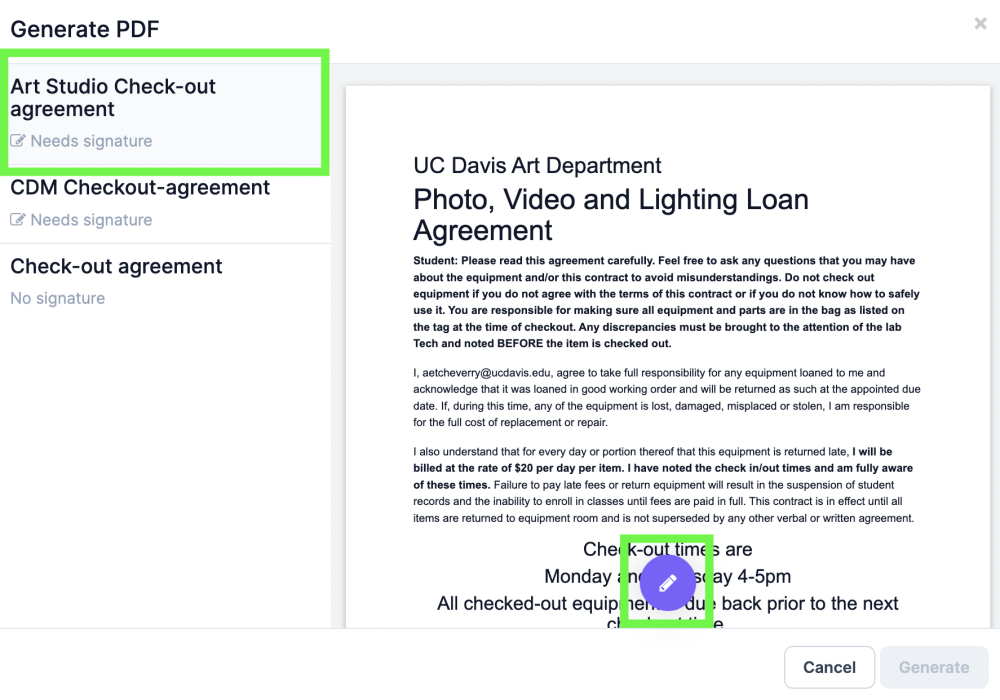
The option to generate the checkout Agreement
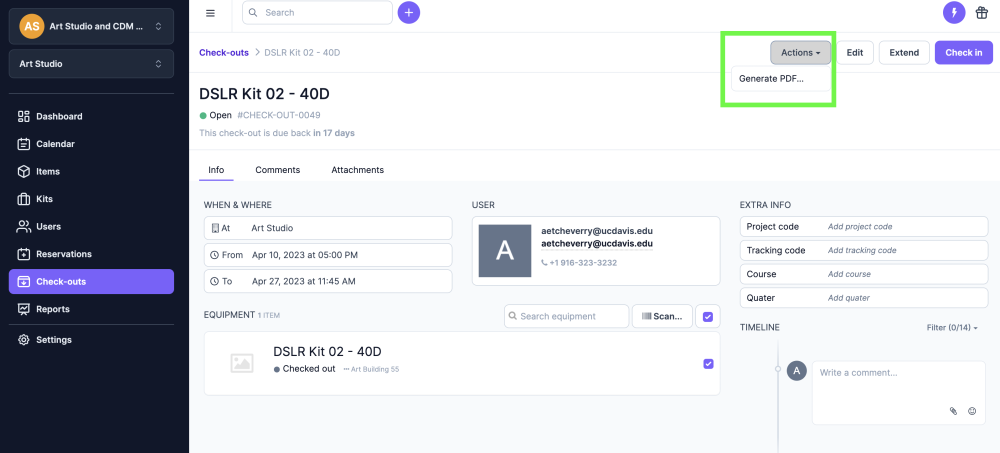
Make sure the correct agreement is selected and then click on the pencil icon
Next the agreement is signed, and then select Generate
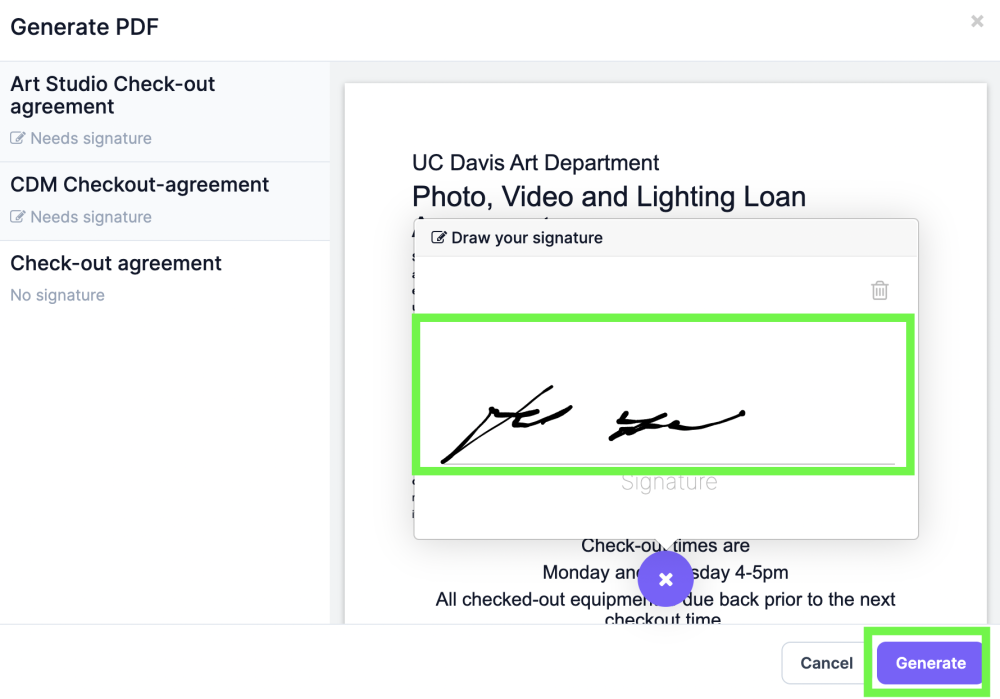
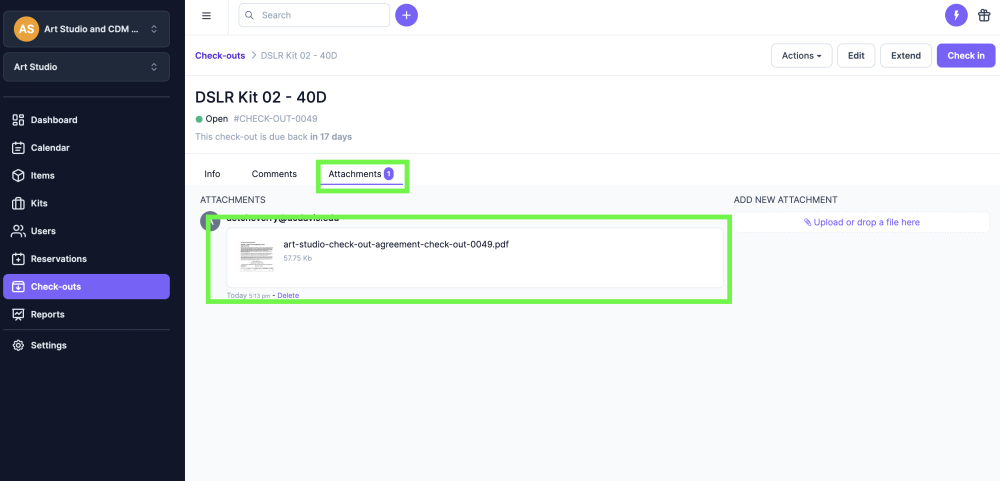
The Agreement is saved in the attachments tab and a copy is emails to the person checking out the item.