How to Add a Course Offerings Page
This first part will detail how to create a new page for upcoming Academic Years. Instructions for how to create the dropdown menu will be listed below.
After logging into your department’s website, set up the “child” page under the “parent” item on the navigation bar.

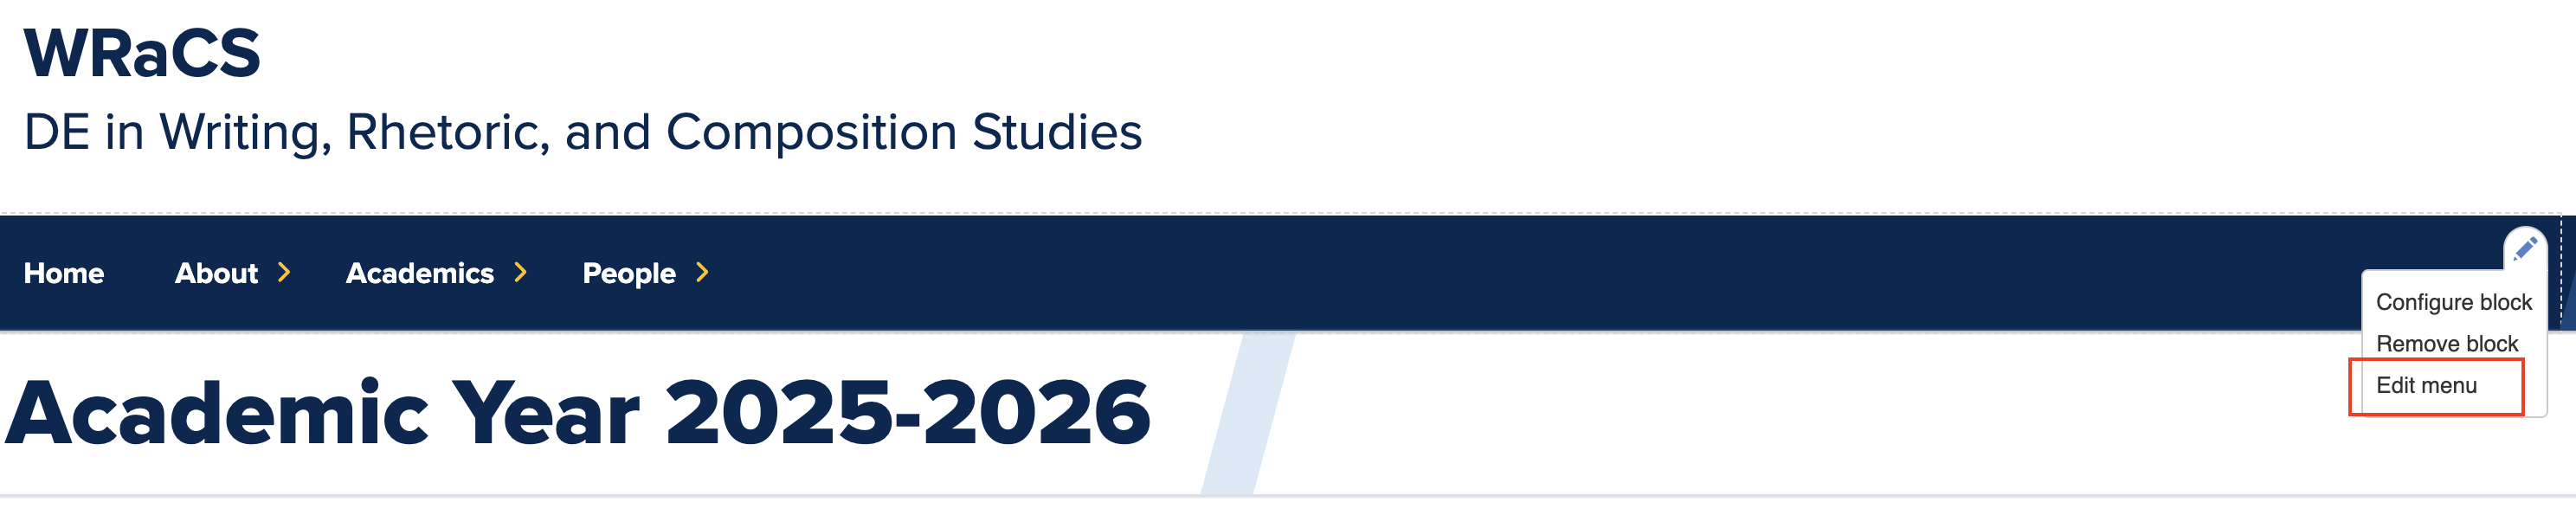
First, click on the pen icon in the top right hand corner of the navigation bar and click “Edit menu”
Scroll down to “Course Offerings.” Click on the down arrow next to “Edit” and select “Add child.”

Fill in the Menu Link Title and the Link to the page. Follow the formatting as shown in the image below and fill in the year as needed.
Make sure “Parent link” on the right hand side is under “Course Offerings”
Make sure “Enabled” is checked. Click Save to complete the item.

Now the child link will appear on the Navigation Bar underneath "Course Offerings." You must now make the page that the content will appear on. This is simply for set-up; the actual dropdown menu instructions are underneath this section.
- Click on "Content," then "Add Content," and then "Basic Page."


- Fill out the title with the corresponding academic year ("Academic Year 20xx-20xx").

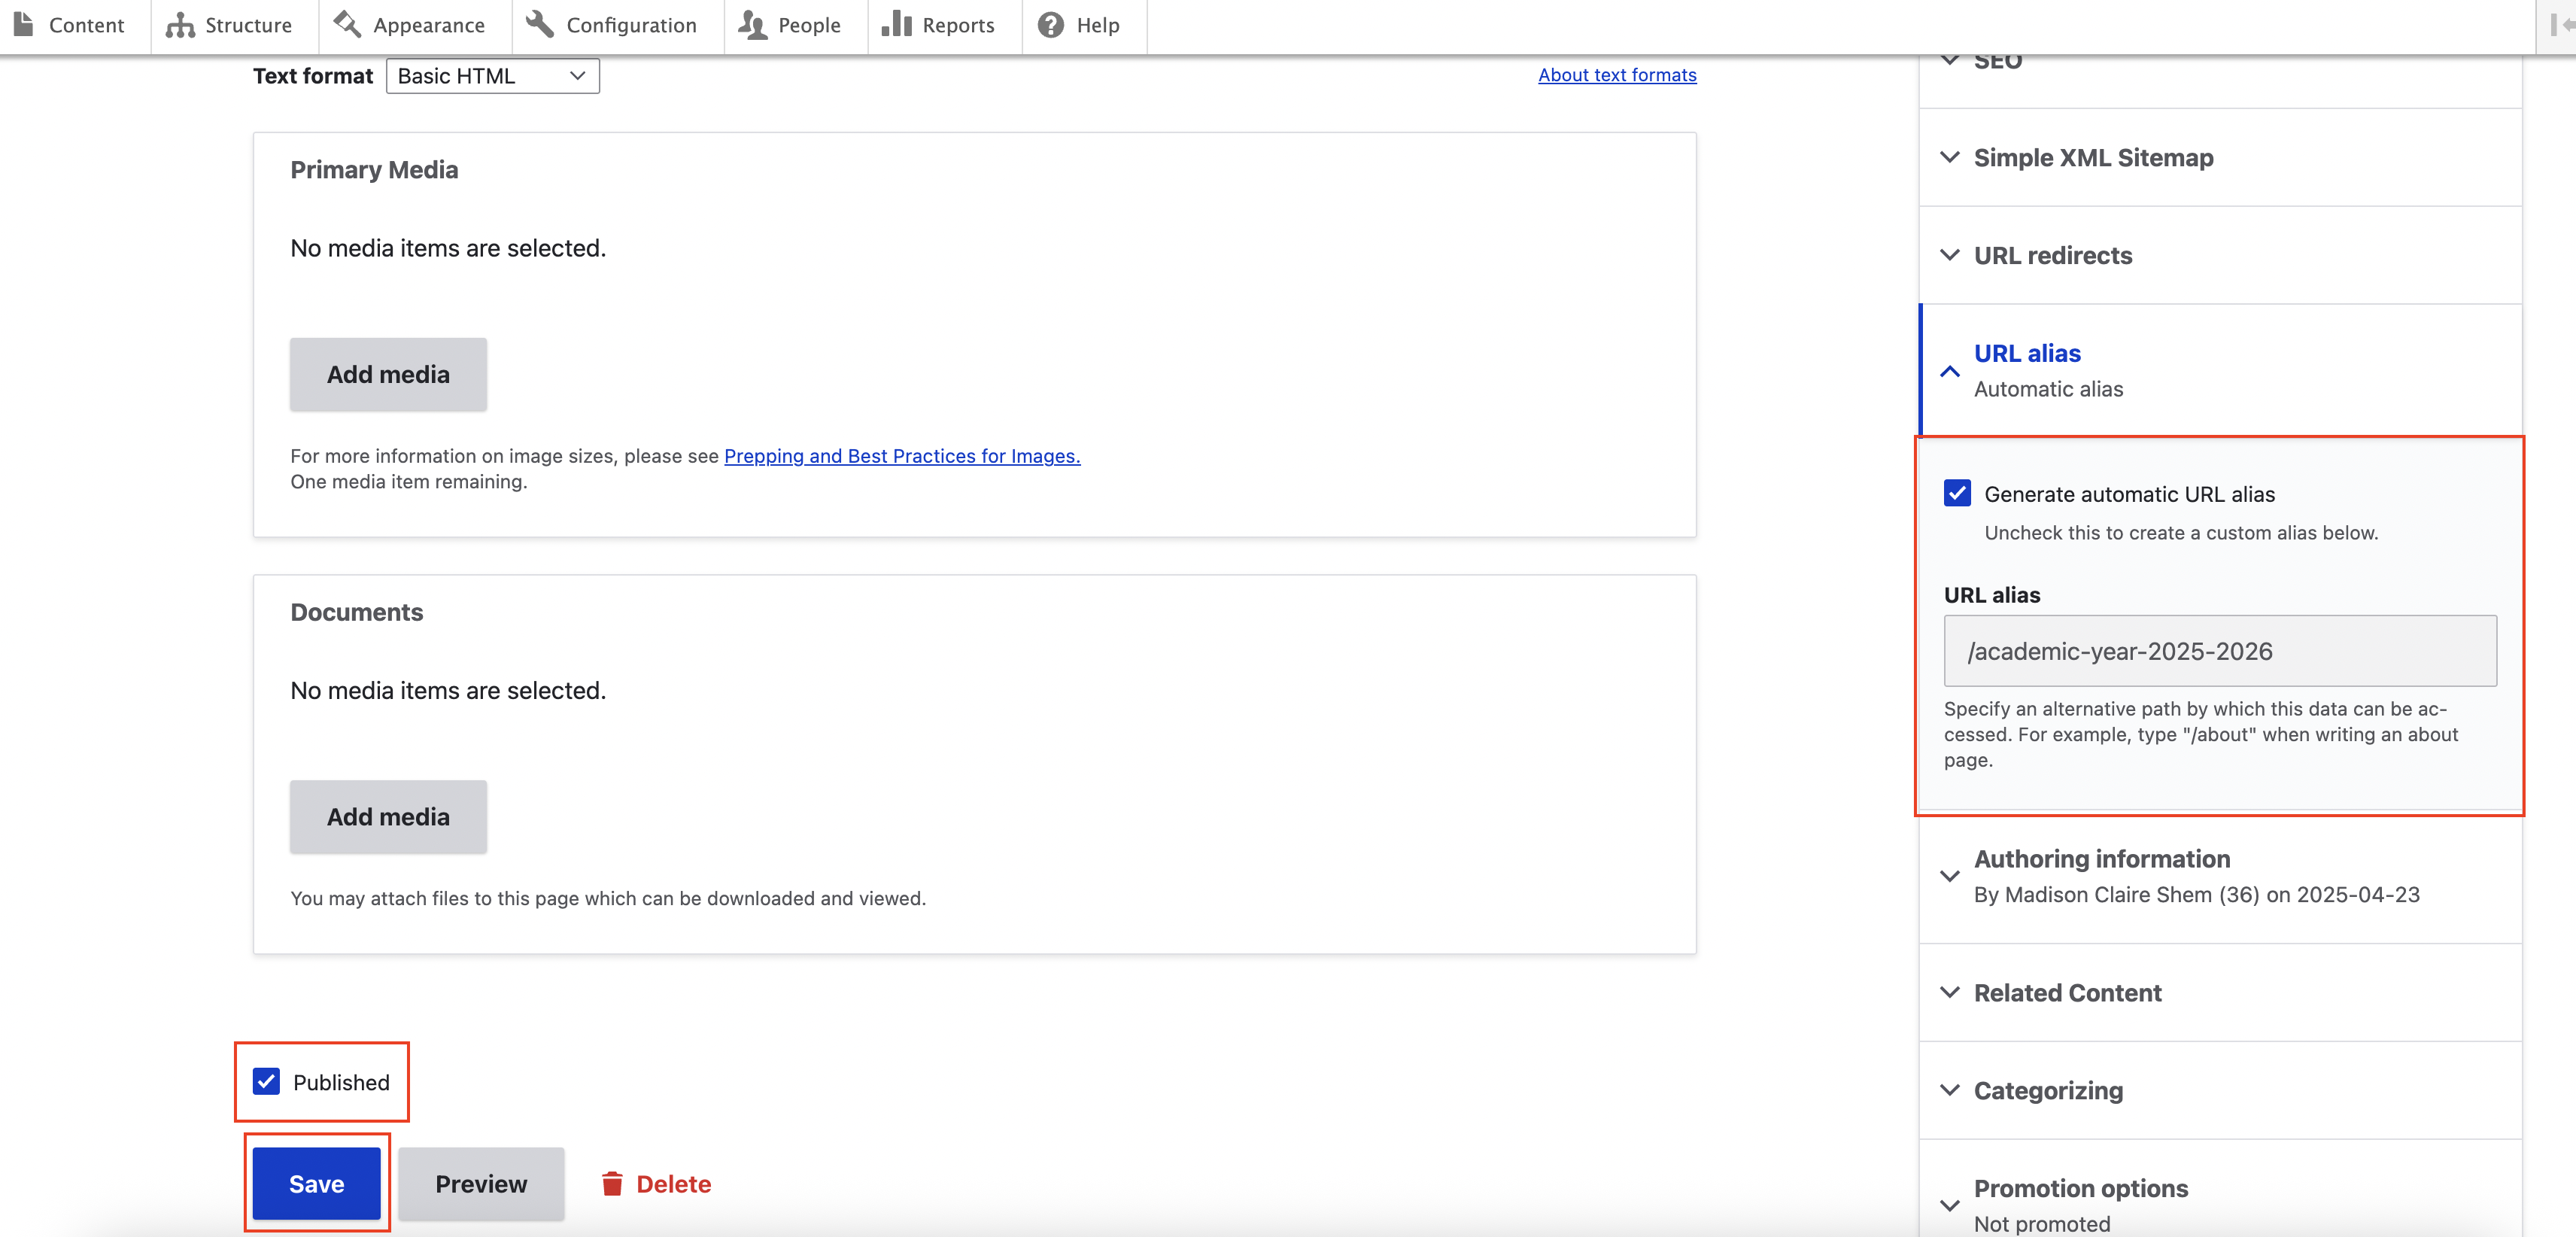
- Make sure your URL alias follows the following format: /academic-year-20xx-20xx. See below for example. You can generate an automatic URL alias, but uncheck the box if you need to edit it so it follows the right format. Additionally, make sure your page is Published and Saved!
How to Create a Dropdown Menu
This section will detail how to create a dropdown menu.
Navigate to the page where you want to create the Dropdown Menu.
Click on "Layout" as shown in the image below. Then, click on "Add Block"


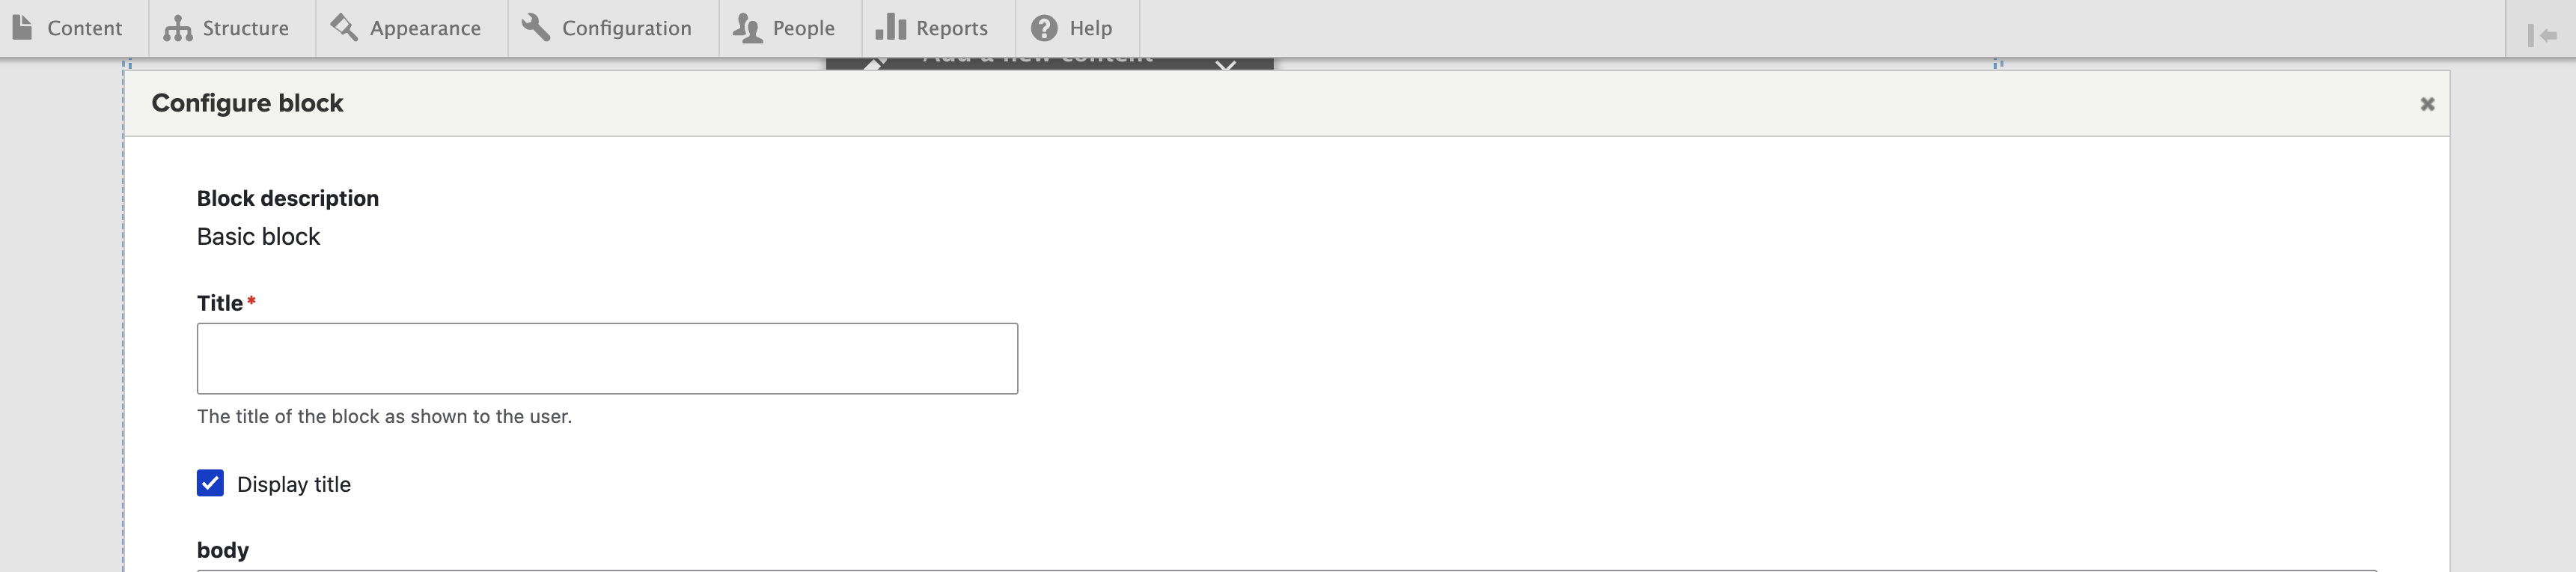
- Click on "Create content block." Then, click on "Basic block."


- Type your title and follow the same format as existing menu slots (Term 20xx Courses; EX: Fall 2025 Courses). Make sure "Display title" is checked.
- Fill out the body information and make sure "Color this box with a Branding Color" and "Collapse this block" are checked. Once these boxes are checked, a Branding Color dropdown menu will appear. Select a color for the box and make sure it follows the correct branding color guidelines. Once everything is finished, select "Add block." Be sure to "Save layout" after your blocks have been created.

