Requirements:
- You will need to know the password for an account on your computer with administrative privileges.
- Make sure you are on Eduroam or campus Ethernet.
- MacOS 10.10 and above is required.
- You will need a Department ID (provided by the HIP business office or your program). Native American Studies requires both a department ID and PIN
To manually add a printer/copier:
Download the Canon printer drivers here.
Click the Apple logo at the top left of your screen. Choose Printers & Scanners.
Click the “+” sign to add a printer.


This window will open:

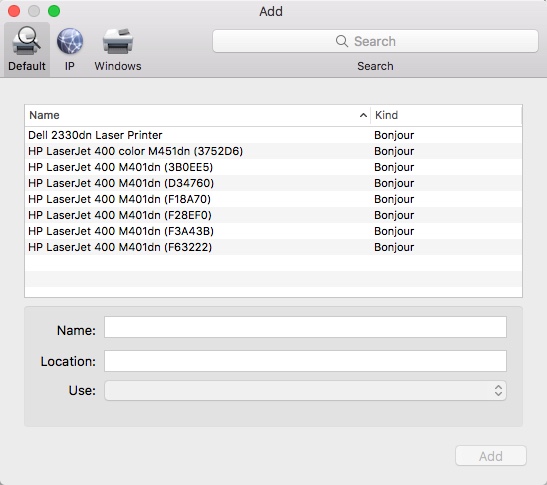
Select the “IP” tab at the top of the window.

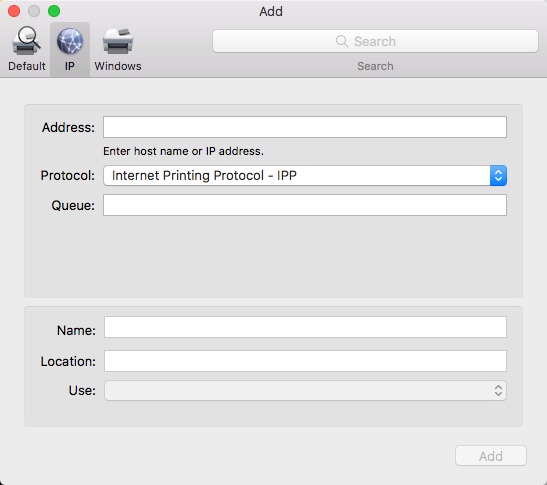
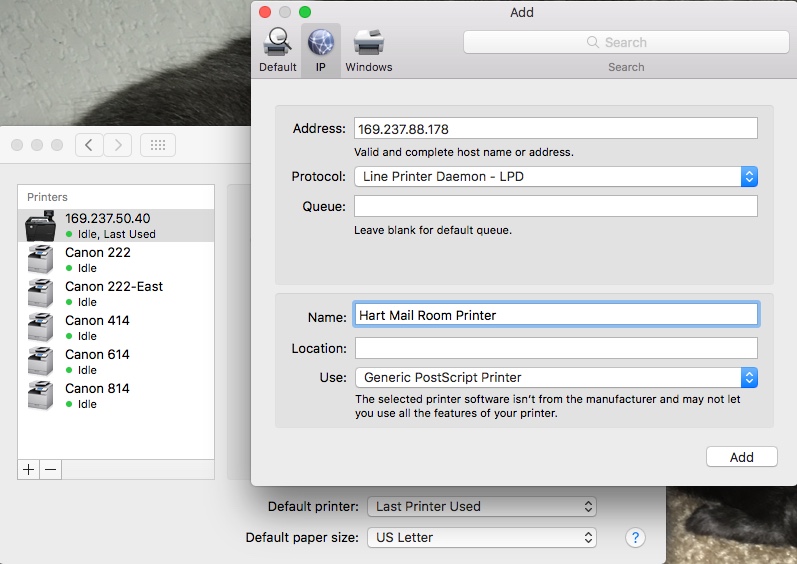
Type in the IP address for the printer you want to use. In this example, we’ll add the printer for the Hart Hall Mailroom.
The printer type is Canon IR4035.
After entering the IP address, change the “Protocol” to “Line Printer Daemon – LPD.” This is the same for all printers in both buildings.
In the “Name” box, you can choose any name that you like. In this example, it’s named Hart Mail Room Printer.

At the bottom of the window, click the “Use” drop-down, and pick “Select Software.” In the filter at the top right of the new window, type only the number of the printer model, e.g. 4035. It will show as the only Printer Software available.

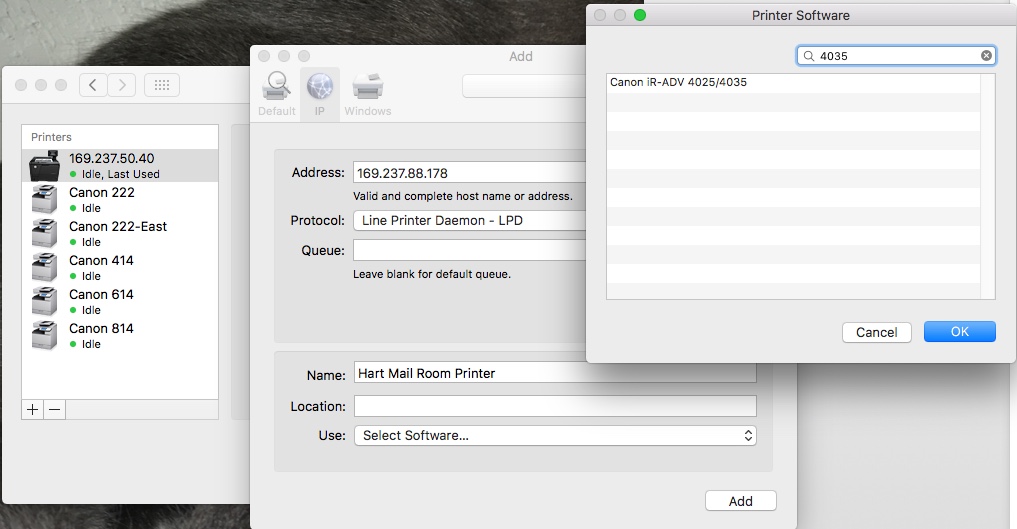
Click on the listing for the Canon printer (it will turn blue when selected), then click OK to close the window.
In the next window, click the Add button at the bottom right. It will then “create” the printer for you. To make sure it is in your printer list, go to System Preferences and choose Printers & Scanners. You should now see the new printer in your list. You can also test it in Word or another application to make sure it's working.


Department ID Configuration
To ensure that the printer is using Department ID's and/or a PIN, Open System Preferences, Select Printers and Scanners and select the printer you are installing. Click on "Options & Supplies" then click the "Options" tab. Make sure the checkbox next to Department ID Management is checked then click OK. Next click on the "Utility" Tab and then click on Open Utility. In the User Management field, make sure Department ID Management is selected, you can also enter the Department ID and PIN if applicable and save them so they are not needed to print each time.